All posts by Amrita

The Rabbit Hole Designs September Release Inspiration Hop

Hello friends!

Welcome back to my blog! Today is Release Day at The Rabbit Hole Designs and the Design Team has an inspiring blog hop to celebrate the September release. This release contains a jack-o’-lantern stamp set with 4 cute images and coordinating sentiments! I have a card to share with you featuring just one of the four jack-o’-lantern images.
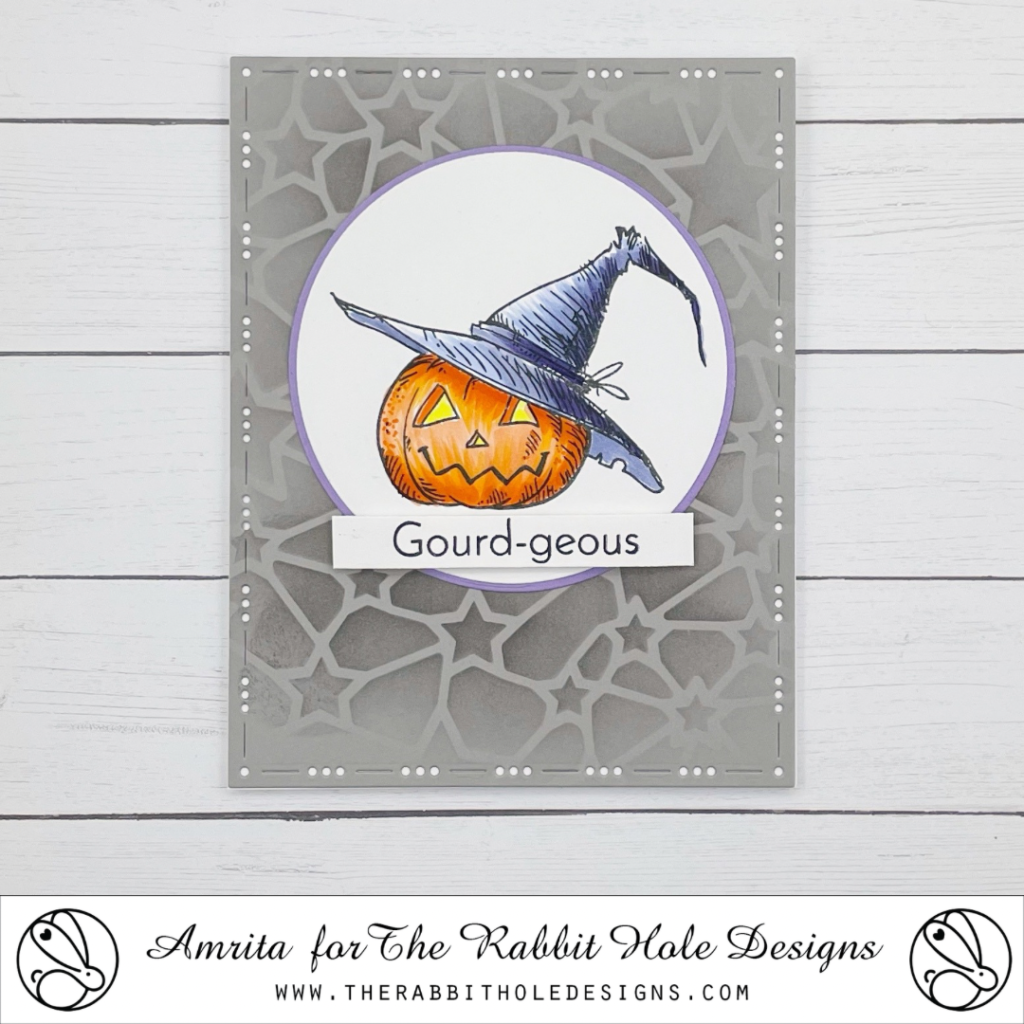
Card Details:

Blog Hop Line Up:

Thanks for visiting!

Amrita

Disclosure: This post may contain affiliate links, meaning I earn a small commission if you decide to make a purchase through my links, at no cost to you. Thanks for your support.
The Rabbit Hole Designs August Release Inspiration Hop

Hello Friends!

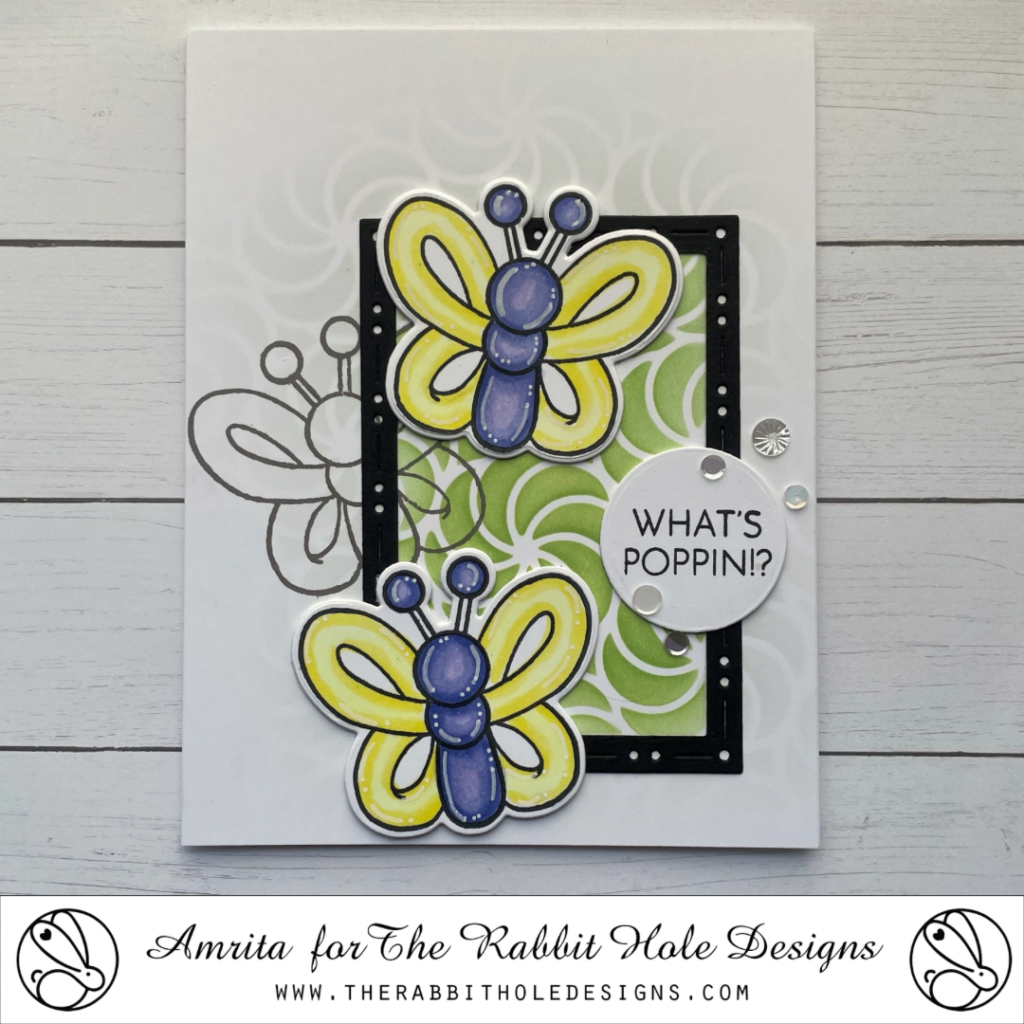
Welcome back to my blog! Today is Release Day at The Rabbit Hole Designs and the Design Team has an inspiring blog hop to celebrate the August release. This release contains two balloon animals stamp sets each with coordinating dies! I have a card to share with you featuring just one of the eight cute balloon images from this small but mighty release.

Card Details:

  • Cut a black frame with the You’ve Been Framed dies. Nest the middle and smallest rectangle dies together and run through the die-cutting machine in one pass to create a frame. Cut out sections of the frame on the longer sides and reattach together to create a smaller frame. (The die-cut butterfly images will hide the cut lines in the altered frame.)
  • On an A2-sized white panel, blend the Candy Twist Stencil in light gray. Mask off a rectangle to match the size of the black frame and blend again in green. Stamp the butterfly from Balloon Animals #2 4 x 6 stamp set in dark gray overlapping the green and light gray stenciled area.
  • Attach black frame to outline the green stenciled area. Attach A2 panel to an A2 card base.
  • Stamp and die-cut 2 butterfly images from Balloon Animals #2 4 x 6 stamp set. Color with alcohol markers. Attach butterfly images to card covering the cut lines in the black frame.
  • Stamp the “What’s Poppin!?” sentiment from Balloon Animals #2 4 x 6 stamp set. Cut with a small circle die or circle punch. Attach to card.
  • Finish off card with sequins and white gel pen details.

August Release:

Blog Hop Line Up:

Thanks for visiting!

Amrita

Disclosure: This post may contain affiliate links, meaning I earn a small commission if you decide to make a purchase through my links, at no cost to you. Thanks for your support.
The Rabbit Hole Designs July 2024 Release

Hello Friends!

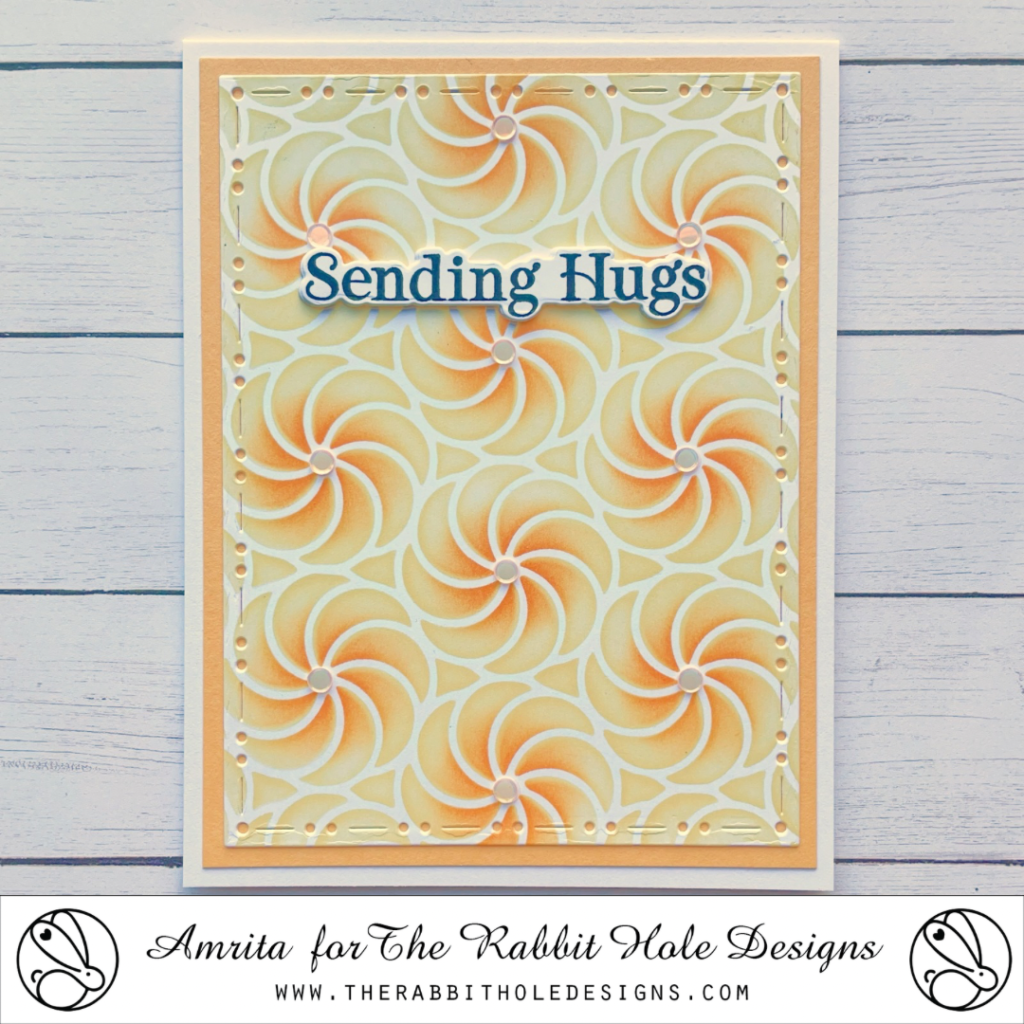
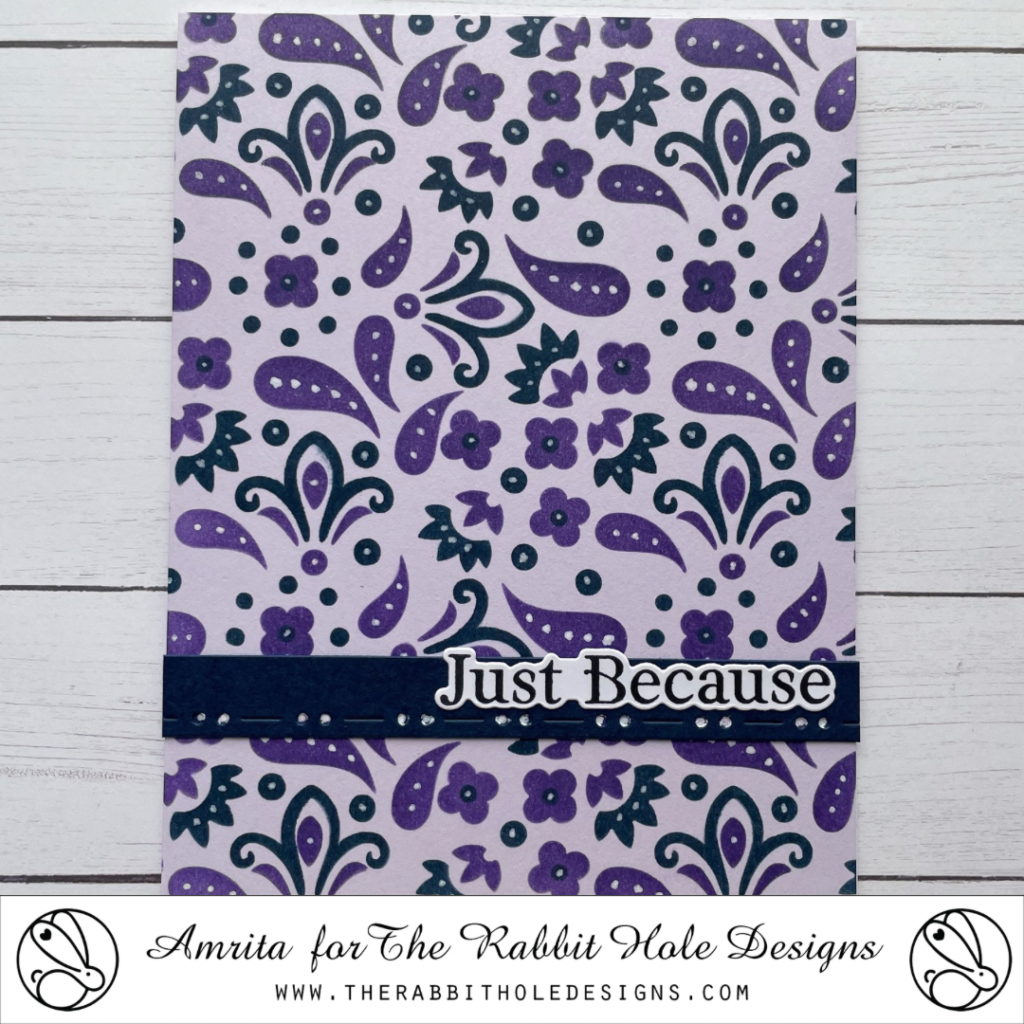
Welcome back to my blog! Today is Release Day at The Rabbit Hole Designs and the Design Team has an inspiring blog hop to celebrate the July release. This release contains some fabulous stencils as well as a versatile sentiment stamp set with coordinating dies! I have two cards to share with you featuring two of the new stencils and the new sentiments.

Sending Hugs Card:

With the Candy Twist Stencil, I first blended pale yellow ink and then added orange ink with a detailed blending brush on smooth white cardstock. I cut the stenciled panel with the second largest frame from the You’ve Been Framed layering dies. I matted the panel onto a peach cardstock panel and then onto an A2 sized white vertical card base. I added the “Sending Hugs” from the new Sentimentally Speaking Stamp Set. Using the coordinating dies, I stacked several die cuts to create dimension. I finished off the card with bling at the center of each “twist”.

Just Because Card:

I blended the Paisley Bandana 2-Layer Stencil (one layer with navy ink and one layer with dark purple ink) onto a pale purple cardstock panel. I added white details with a white acrylic paint pen. I stamped the “Just Because” sentiment from the new Sentimentally Speaking Stamp Set and cut it out with its coordinating die. To ground the sentiment I cut out the second largest frame from the You’ve Been Framed layering dies and trimmed off one end of the panel to create a strip.

July Release:

Please hop along with us to see more inspiration for the July release! Next head to Jessica’s blog or to start at the beginning go to The Rabbit Hole Designs.

Blog Hop Line Up:

Thanks for visiting!

Amrita

Disclosure: This post may contain affiliate links, meaning I earn a small commission if you decide to make a purchase through my links, at no cost to you. Thanks for your support.
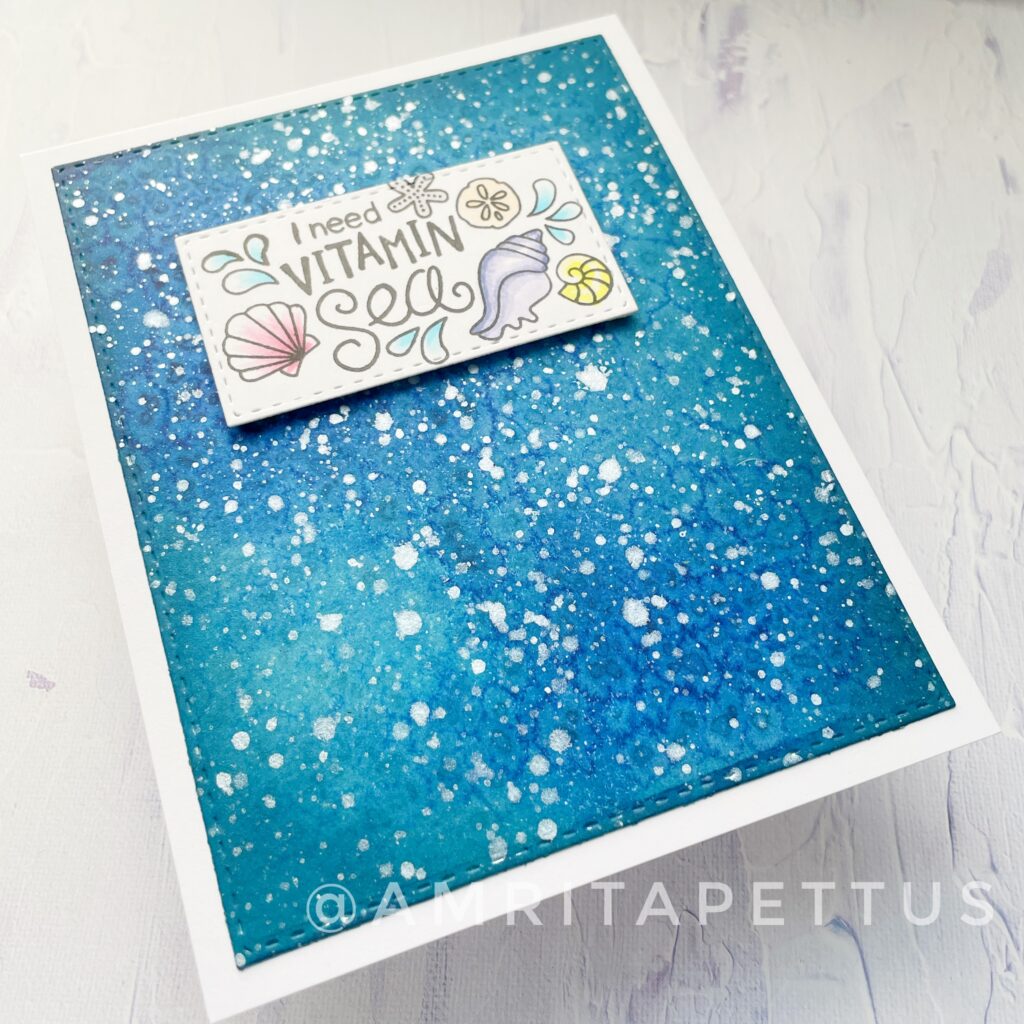
Vitamin Sea with Salt Watercolor Technique

Hello Friends!

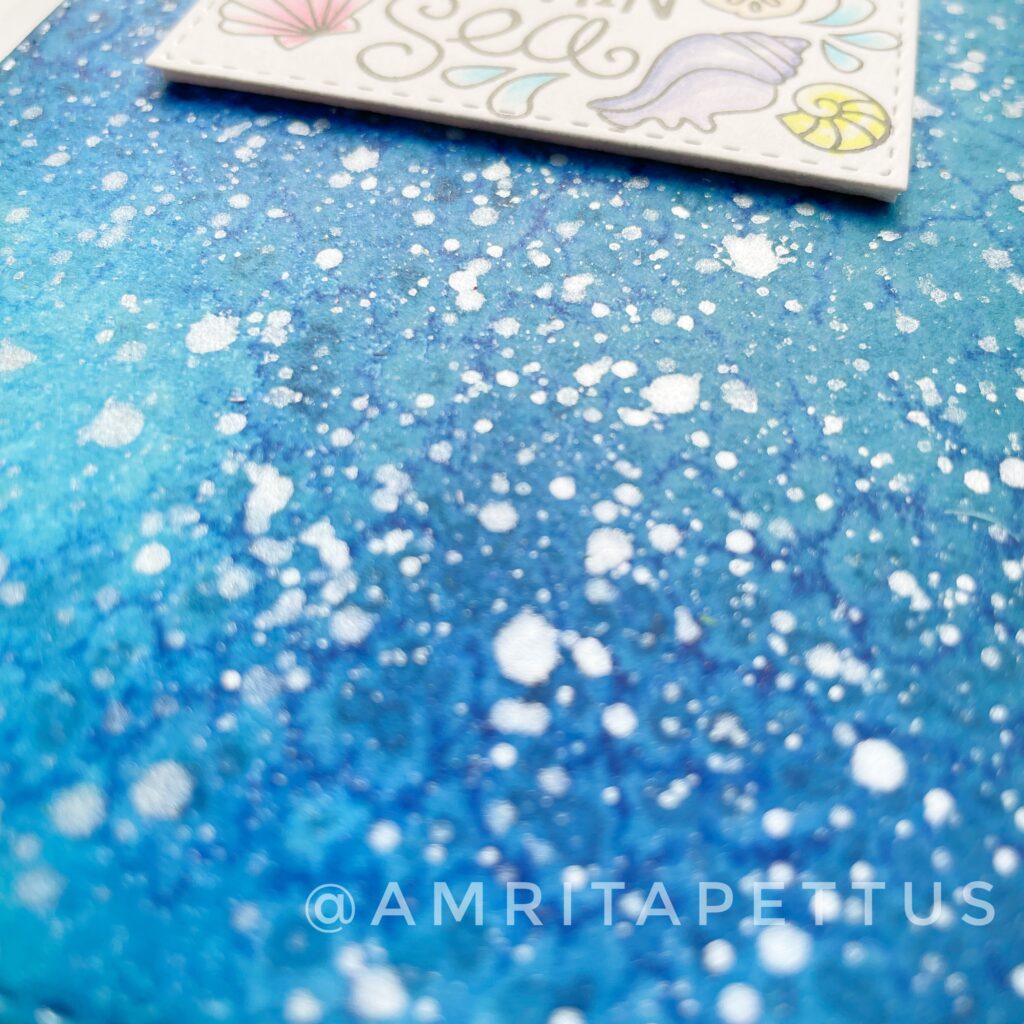
Welcome back to my blog! Today’s card features a salt watercolor technique. I started with distress watercolor cardstock and generously sprayed it with water and Tim Holtz Distress Spray Stains in Speckled Egg and Prize Ribbon. While the cardstock was still very wet I sprinkled coarse kosher salt and let the panel completely dry overnight. The next day I flaked off the salt. The salt acted as a resist on the wet cardstock.

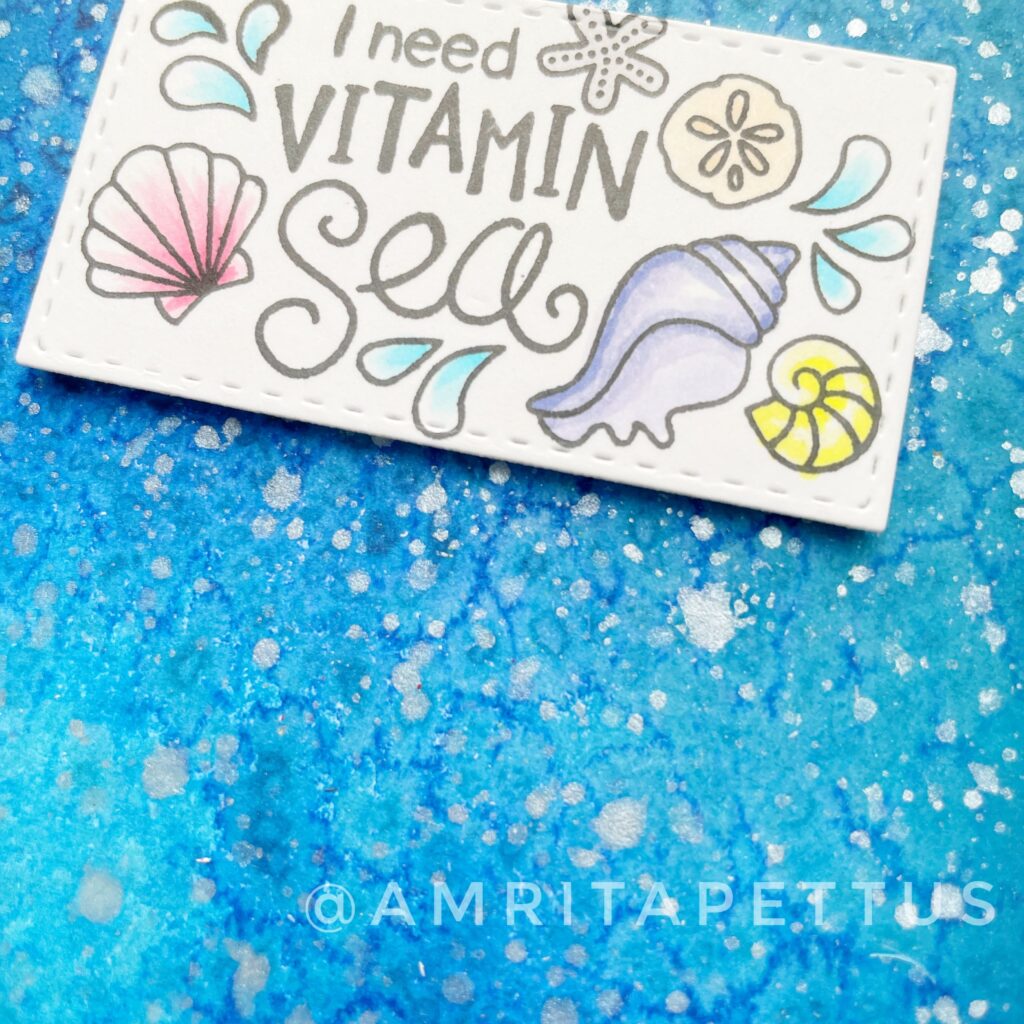
I applied another layer of color by blending Tumbled Glass Distress Ink where the salt had lightened the cardstock. I trimmed the panel with the largest die from the Simon Says Stamp Stitched Rectangles set and then blended Unchartered Mariner Distress Ink around the edges of the trimmed panel. Then I added shine by splattering Gansai Tambi White Gold paint.

I stamped the sentiment + images (one stamp) from Newton’s Nook in black ink and colored it with COPICs. I trimmed the image with another die from the same Stitched Rectangles set and added it to the watercolor panel with foam tape. I adhered the card front to a white A2 top-folding card base.

Have you tried the salt watercolor technique before? This was actually my first time and I was really happy with the results! I have a few more salted watercolor backgrounds that I hope to turn into cards soon.

Thanks for visiting!

Amrita

TE Hello Butterflies

Hello Friends!

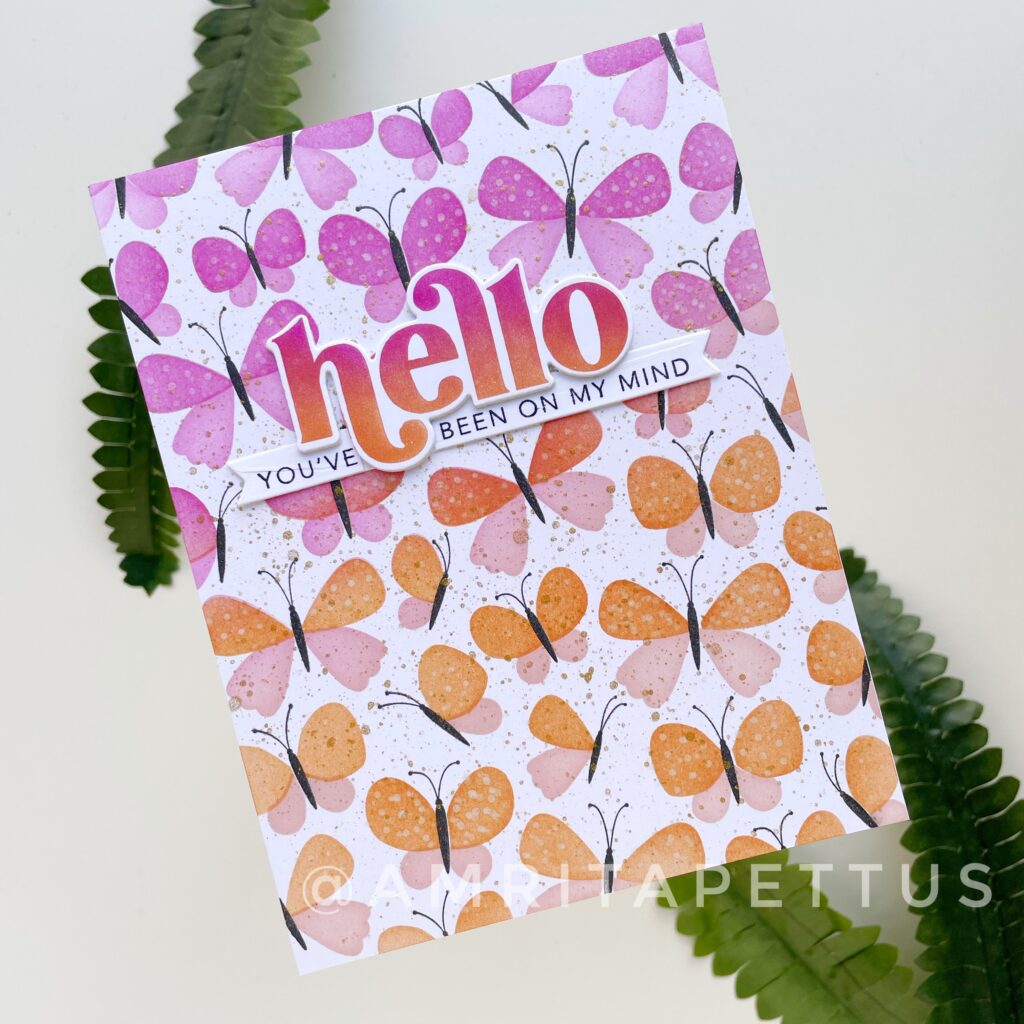
Welcome to my very first blog post! I shared this card on my Instagram recently. The stamp and stencil combo includes a background stamp and two coordinating stencils. I started by stamping the butterfly bodies background in TE’s Oreo ink. I ink blended TE’s Lollipop and Candy Corn with the upper wings stencil. Then I blended Strawberry Milkshake and Peaches ‘n Cream for the lower wings.

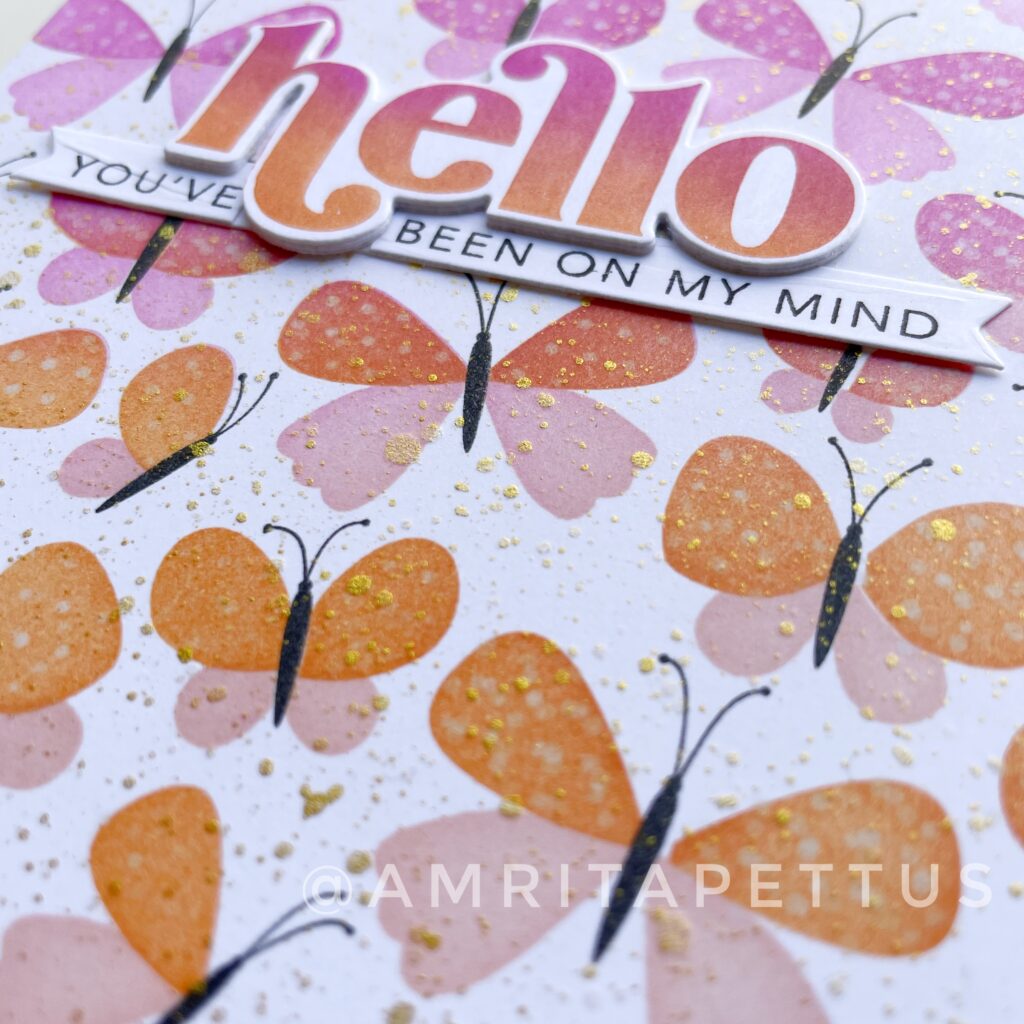
To add additional texture, I overlapped SSS’s Tiny dots stencil on top of the upper wings stencil and applied TE’s Sea Salt ink with a foam blending tool. I finished the background panel off with Gansai Tambi gold splatters.

To create the two-toned Hello sentiment, I inked up the stamp with blending brushes (in Lollipop and Candy Corn) and repeated several times to get the depth of color I wanted. I cut the sentiment strip apart to nestle it under the hello.

Thanks for visiting!

Amrita